
Problem
My 2020 Casita Spirit Deluxe has a Coleman-Mach rooftop A/C with an electric heat strip. One annoyance is that the blower cycles on and off with the heat. It’s disruptive when trying to sleep, compared to a constant noise. I wanted the blower to run continuously on low speed while the thermostat still controls the heat strip. Unfortunately, the factory thermostat supports constant fan mode for AC, but not for electric heat. The only thermostat I could find which MIGHT have this feature is $300, and that’s not proven.
Disclaimer: this is working for me, but your equipment might be different. You might solder poorly. You might forget to turn off a breaker or pull the thermostat fuse. I might have forgotten something. Your dog might run off with your wire strippers. Read my idea, and proceed at your own risk.
My Solution
I added a toggle switch to override the low-speed blower control. In “auto” mode, everything works as originally designed. In “fan on”, the blower runs continuously on low while the thermostat cycles the electric heat. “Fan on” mode forces the fan on, no matter what mode the thermostat is in. The switch is mounted in a small 3D-printed enclosure.
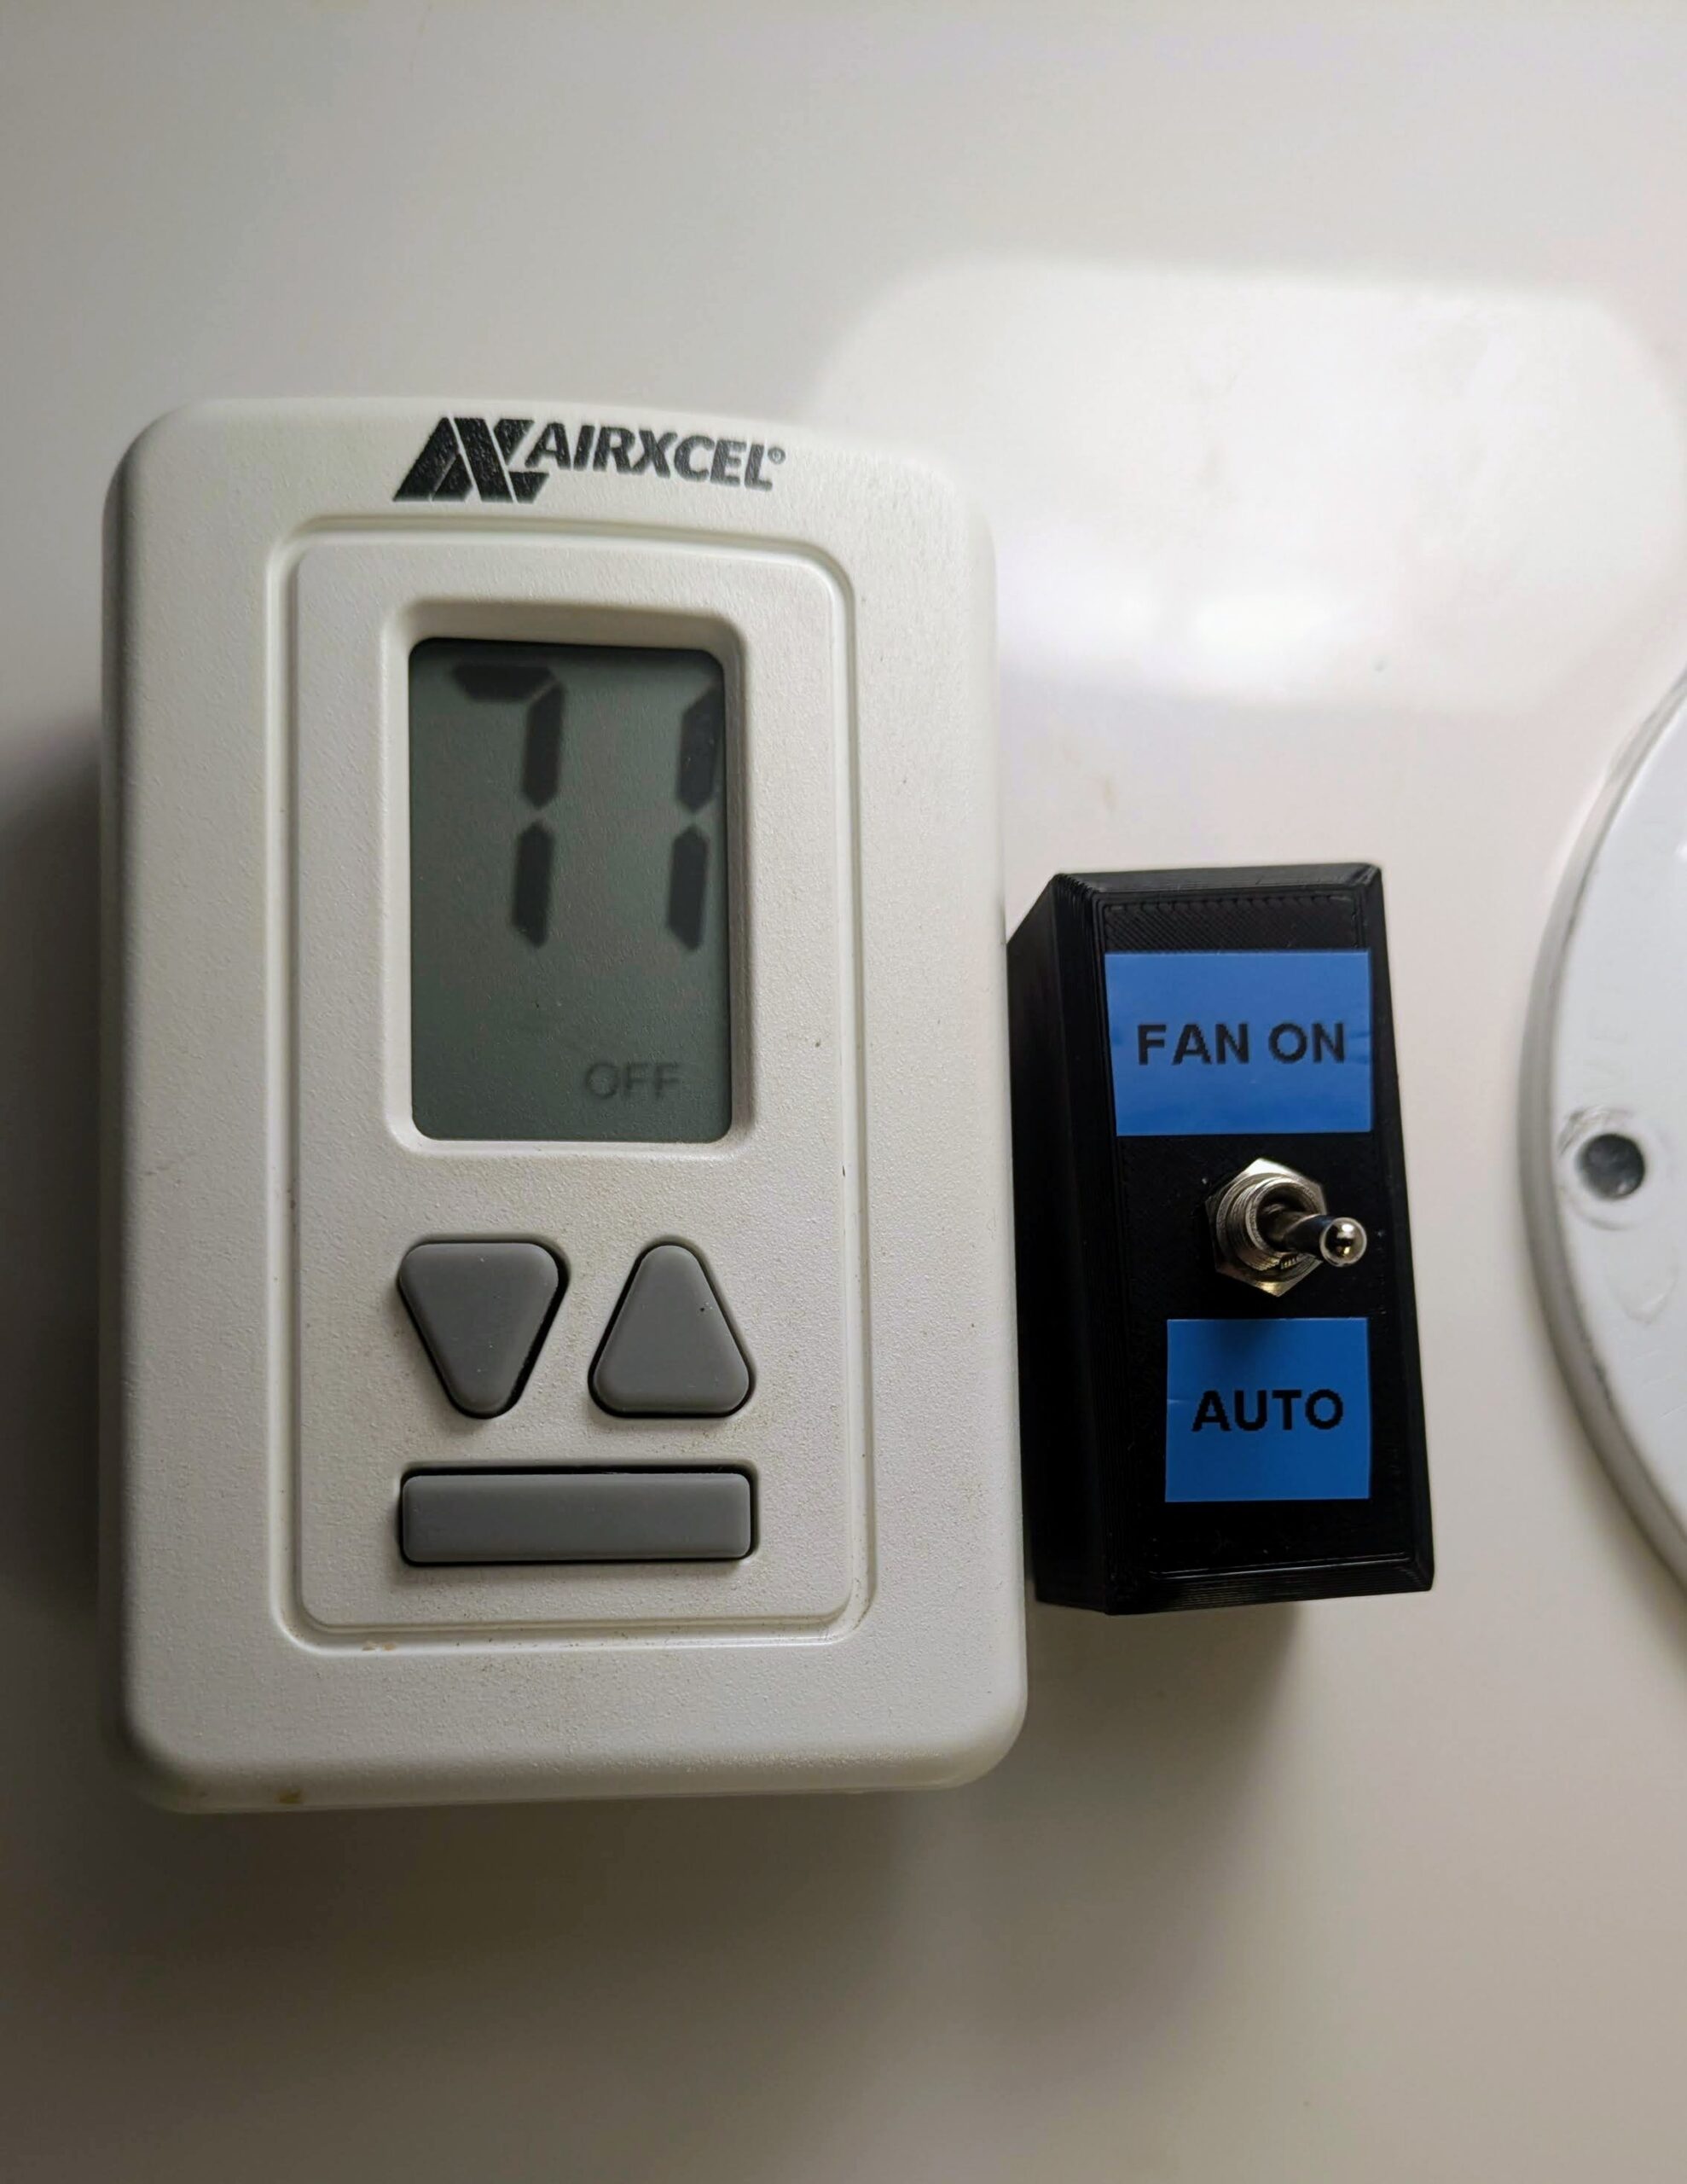
I looked up the schematics for my equipment, and I discovered the following wires and how they work:
- GL – activates low fan
- GH – activates high fan
- WHP – activates electric heat
- Y – activates compressor
The interesting part is that my thermostat, when cooling is needed, signals both Y and either GL or GH (depending on setting), but when electric heat is needed, it just sends WHP, not a fan signal. The rooftop unit activates the low speed fan anyway when WHP is signaled.
My idea was to have the switch just signal GL all the time, and let the thermostat signal WHP when heat is needed. Disclaimer, signalling WHP+GL was a gamble, but I found schematics that indicated that WHP also triggered the GL relay.
Problem two was that signalling both GL and GH would be a bad idea. So if I put on “fan on” via the switch and also activated COOL HI mode on the thermostat, it would energize both the low and high speed windings on the blower motor, and would likely cause the magic smoke to escape.
My solution was to use a DPDT switch, and use the second pole to DISABLE GH when in “fan on” mode.

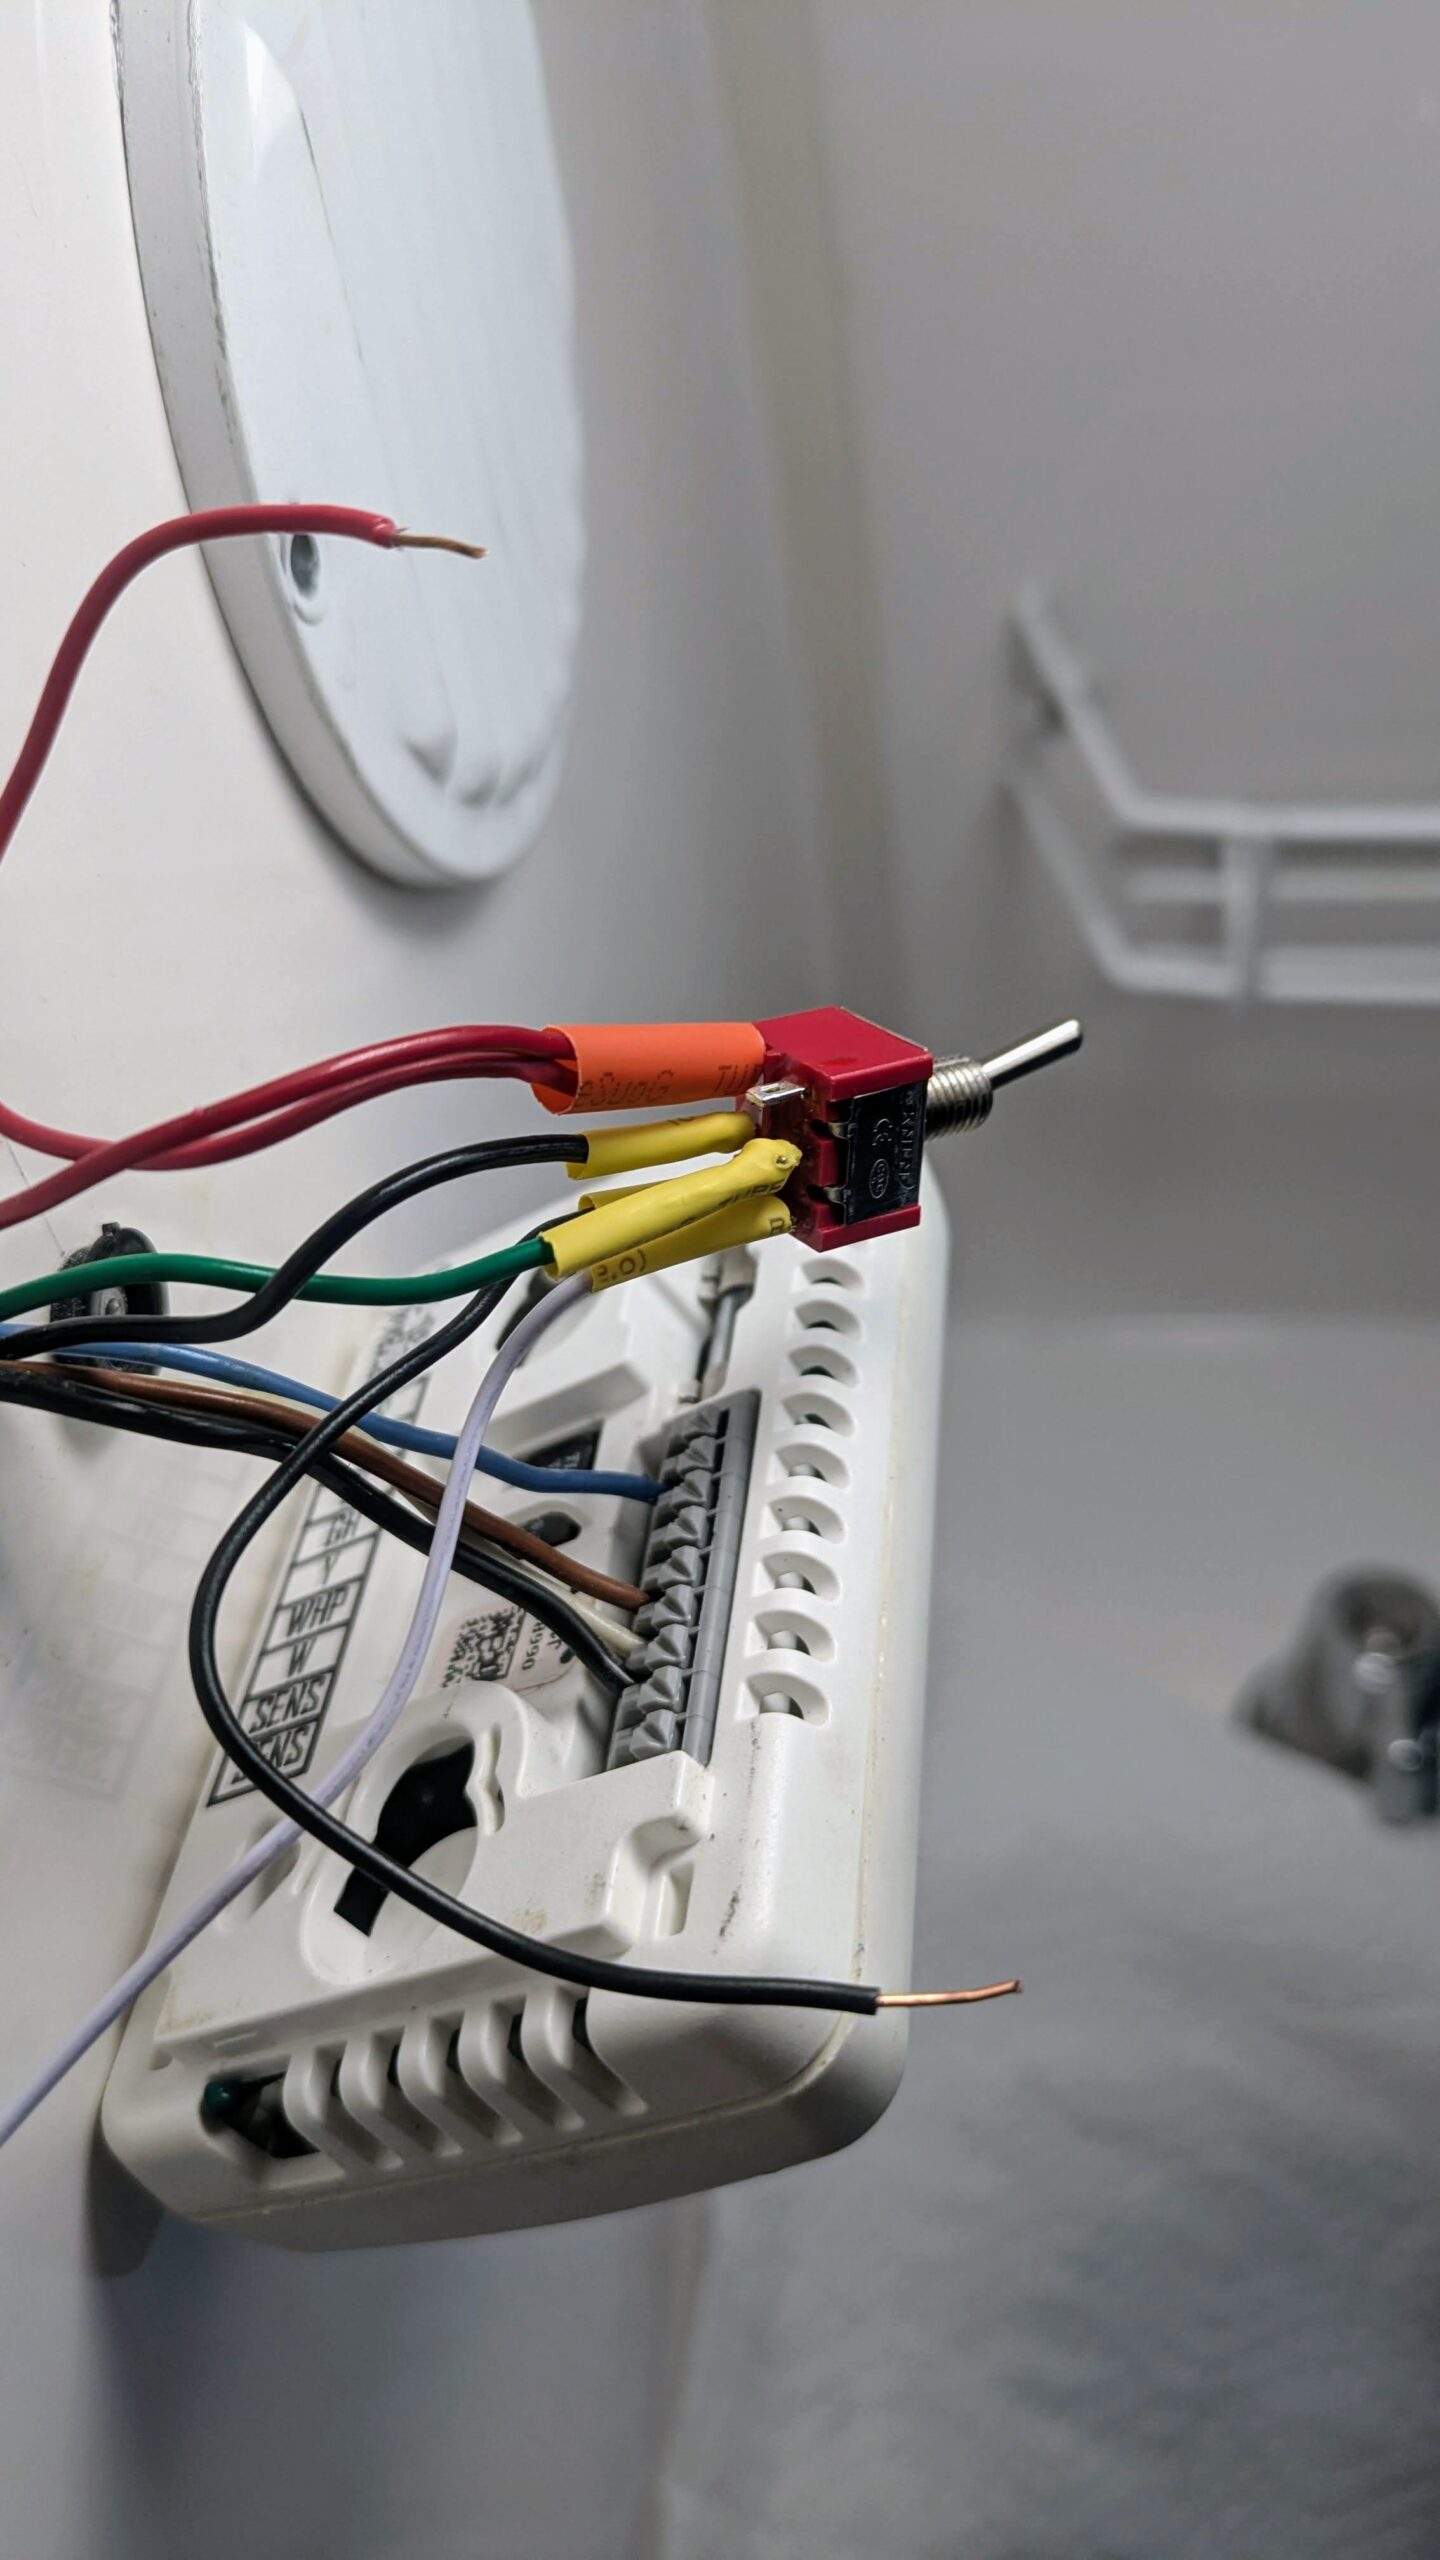
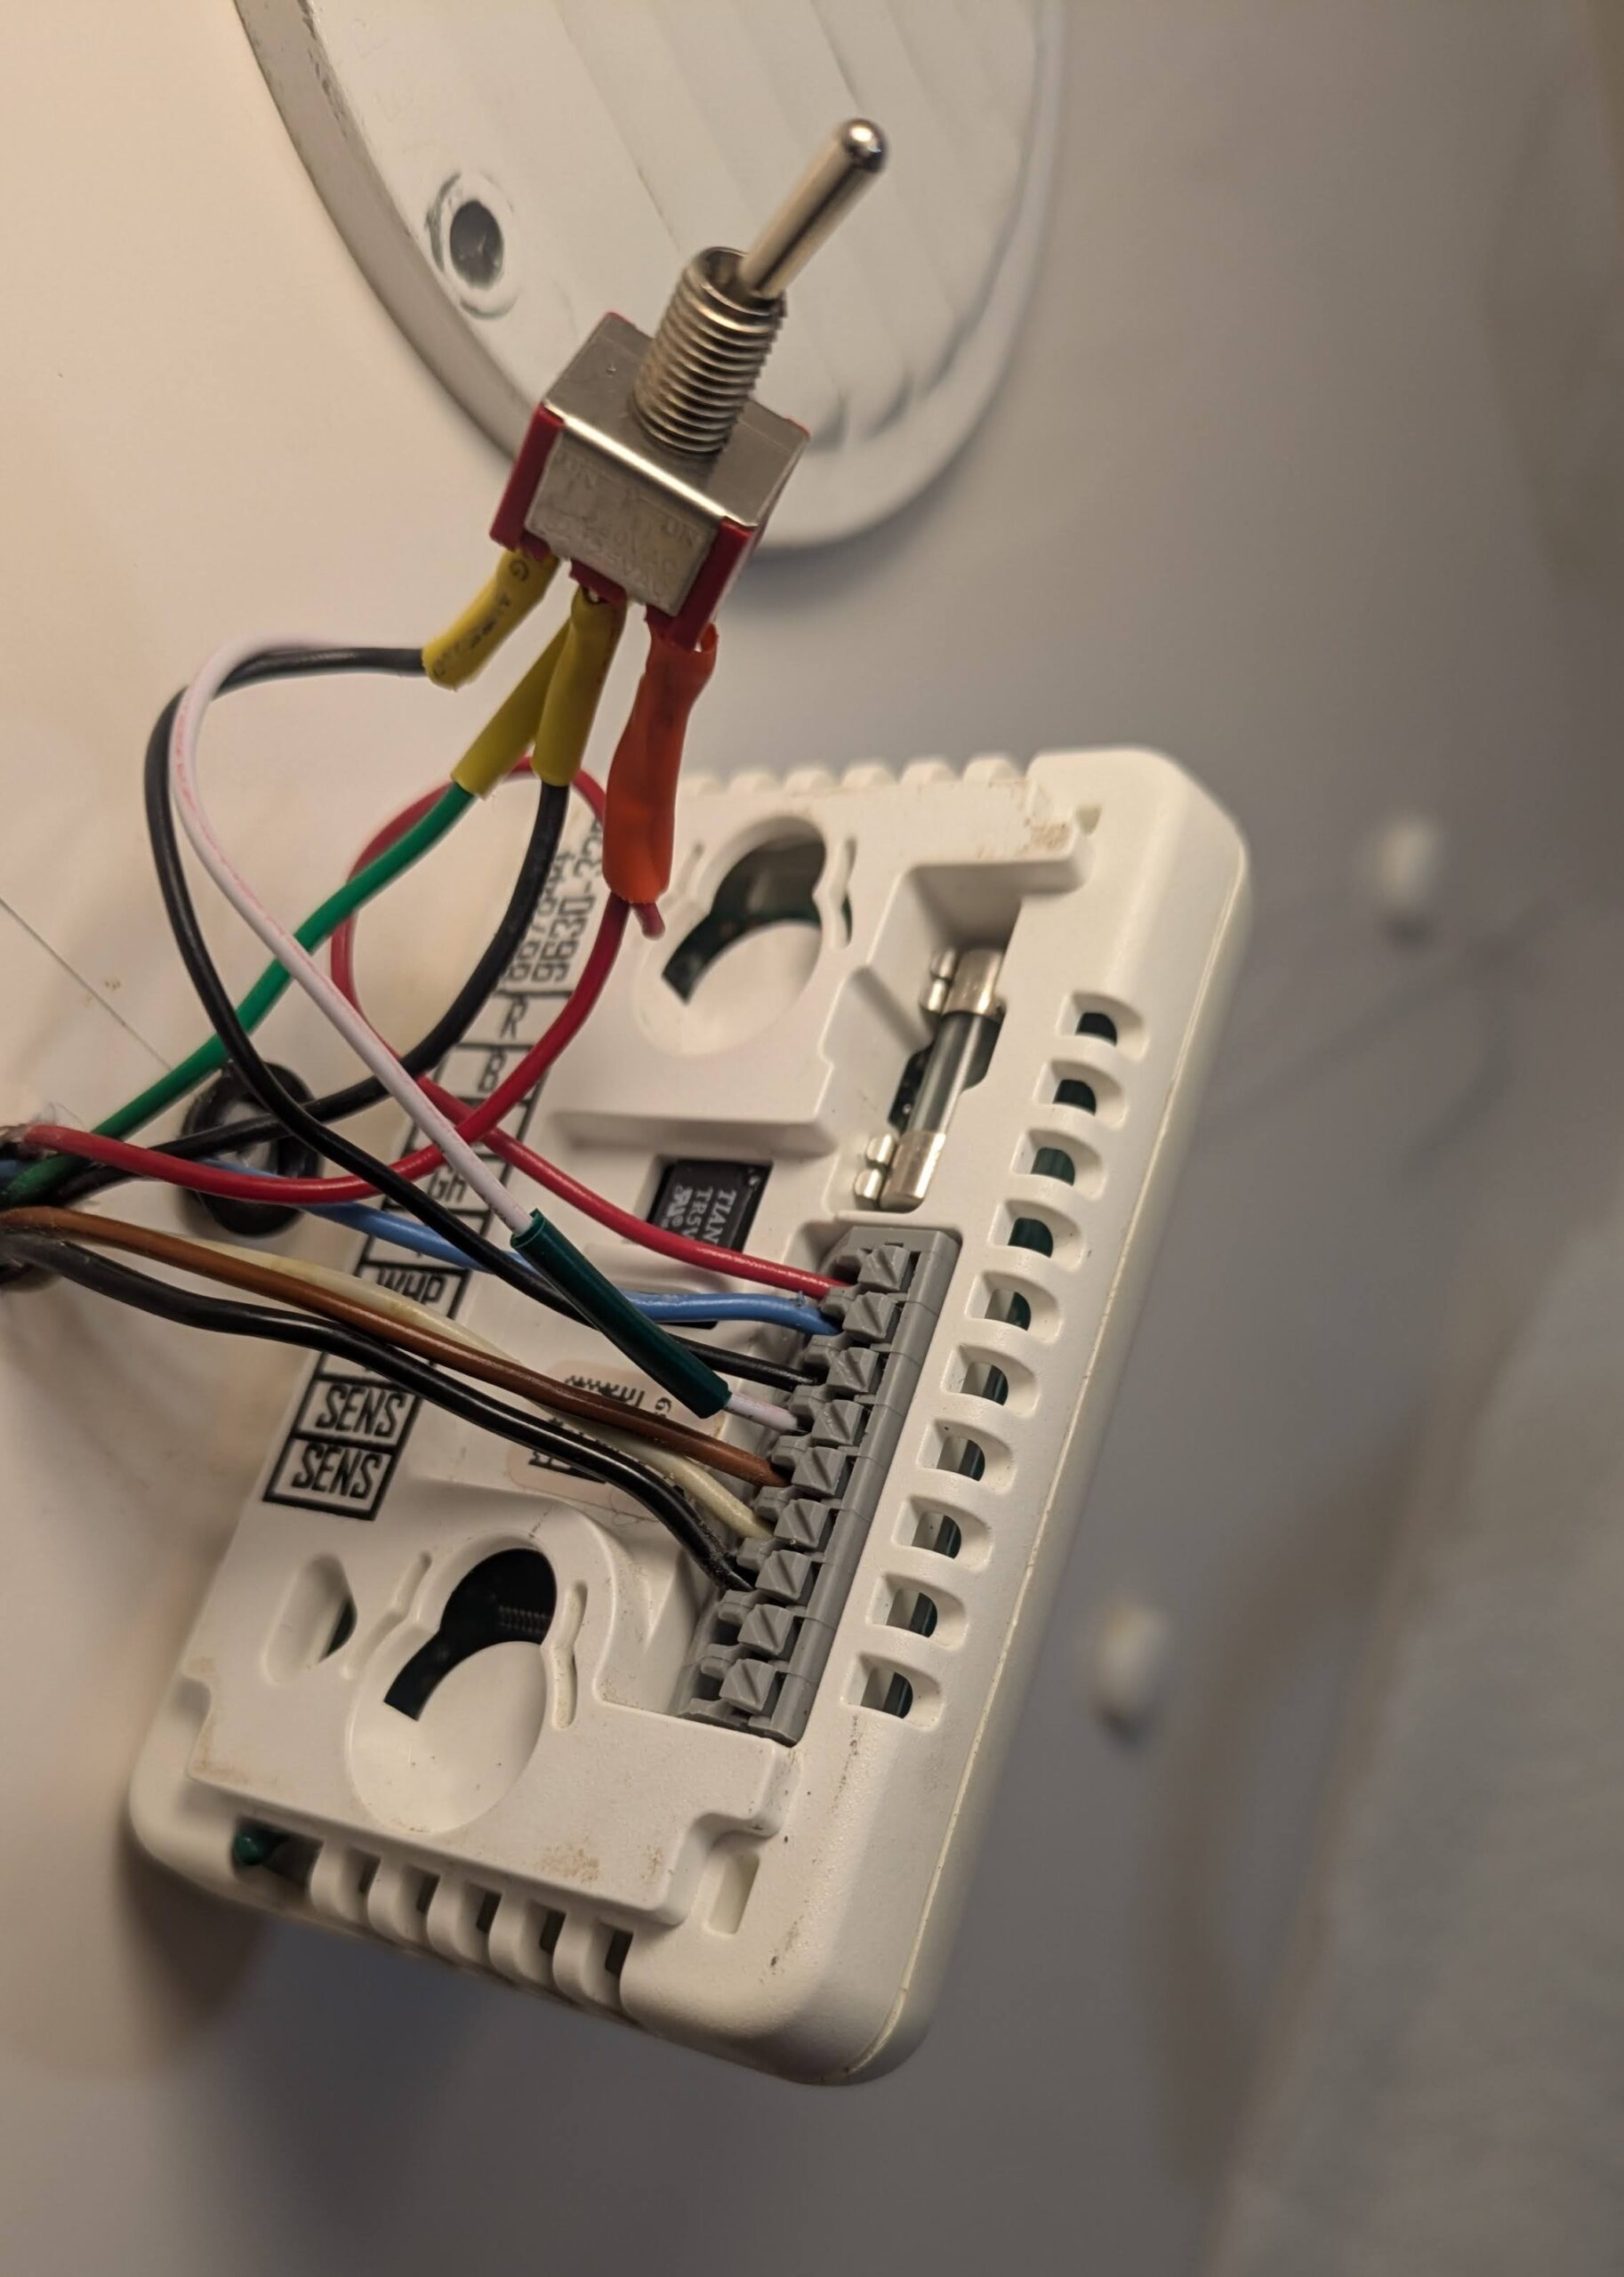
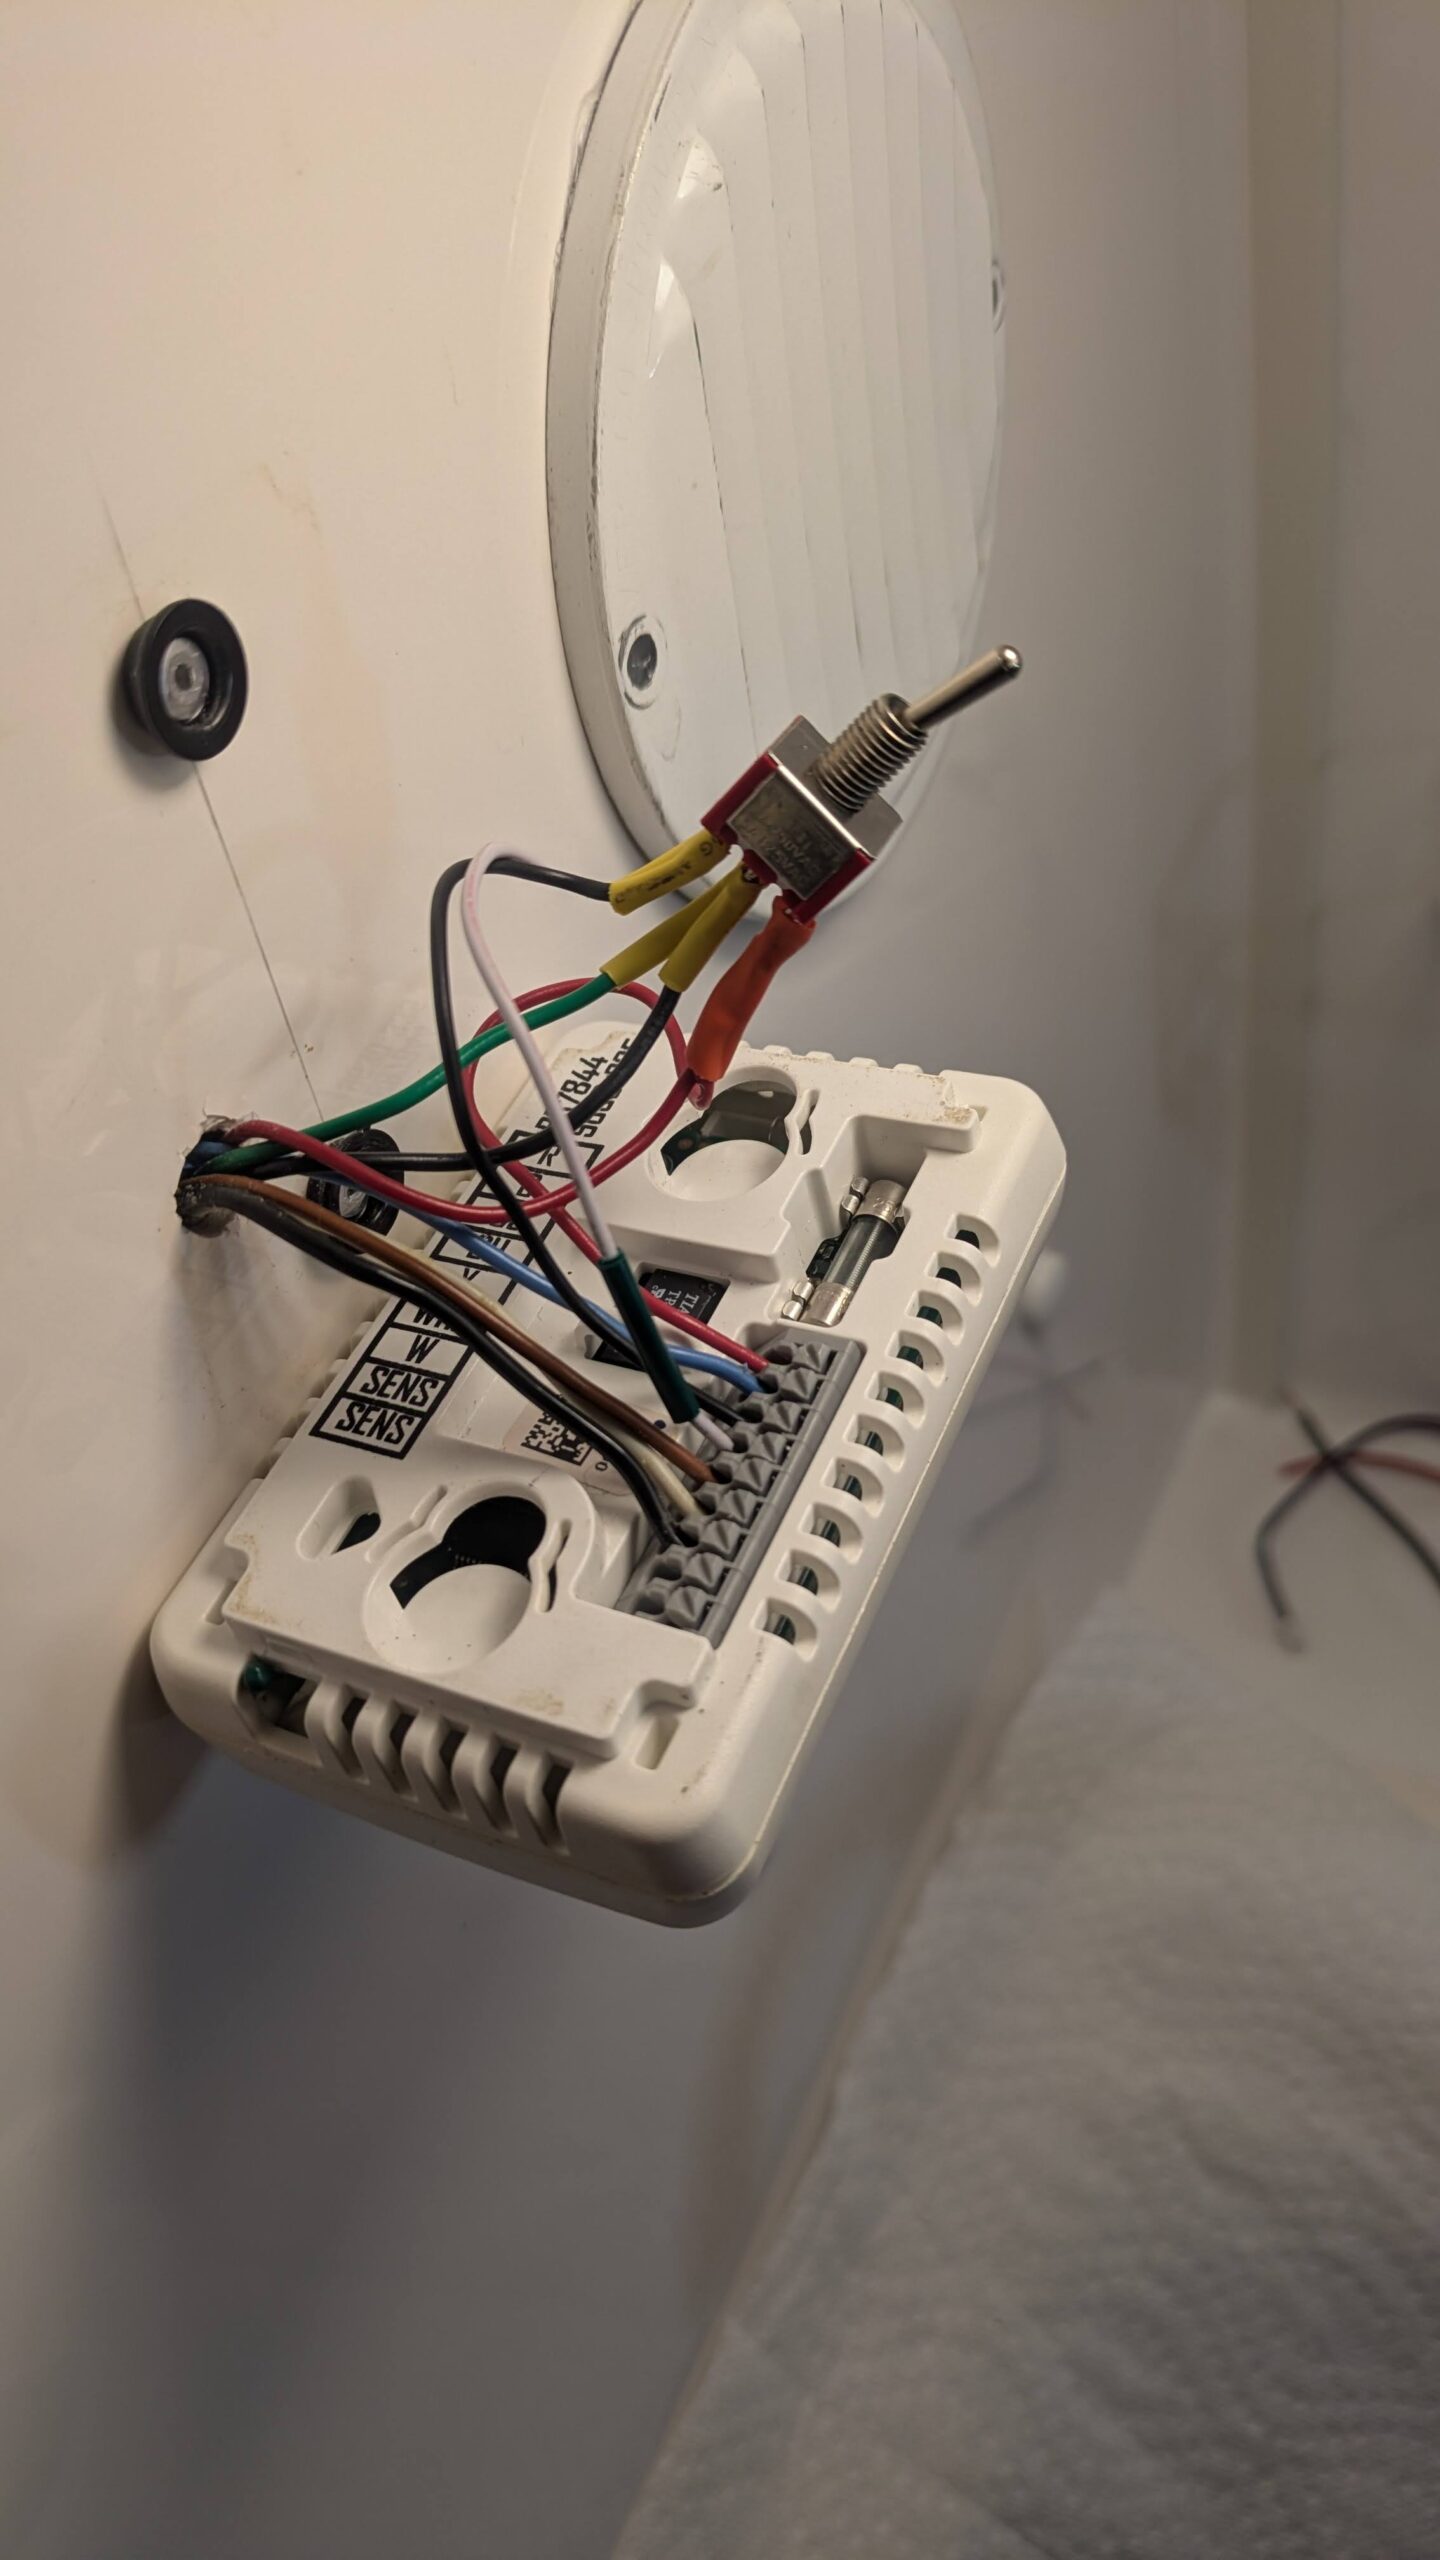
So as you can see, in normal (auto) mode, we connect the GL from the AC to GL on the thermostat, but in “fan on” mode, we connect GL from the AC to 12V+ (R) on the thermostat, forcing it on. GH is connected to GH in normal mode, but completely disconnected in “fan on” mode, preventing any way of commanding both high and low speed at the same time.
In my diagram, the dotted lines indicate added wires, and the solid lines are the existing wires. Your wires might be different, so look at the connections on the thermostat.
Installation
I used a tiny toggle switch and soldered the wires directly. You could use a bigger switch with crimp connections if you wanted. Just make sure it’s DPDT, and doesn’t have a center off position, because in that position, you might be able to turn on the compressor with the fan disabled, and that probably would be bad.

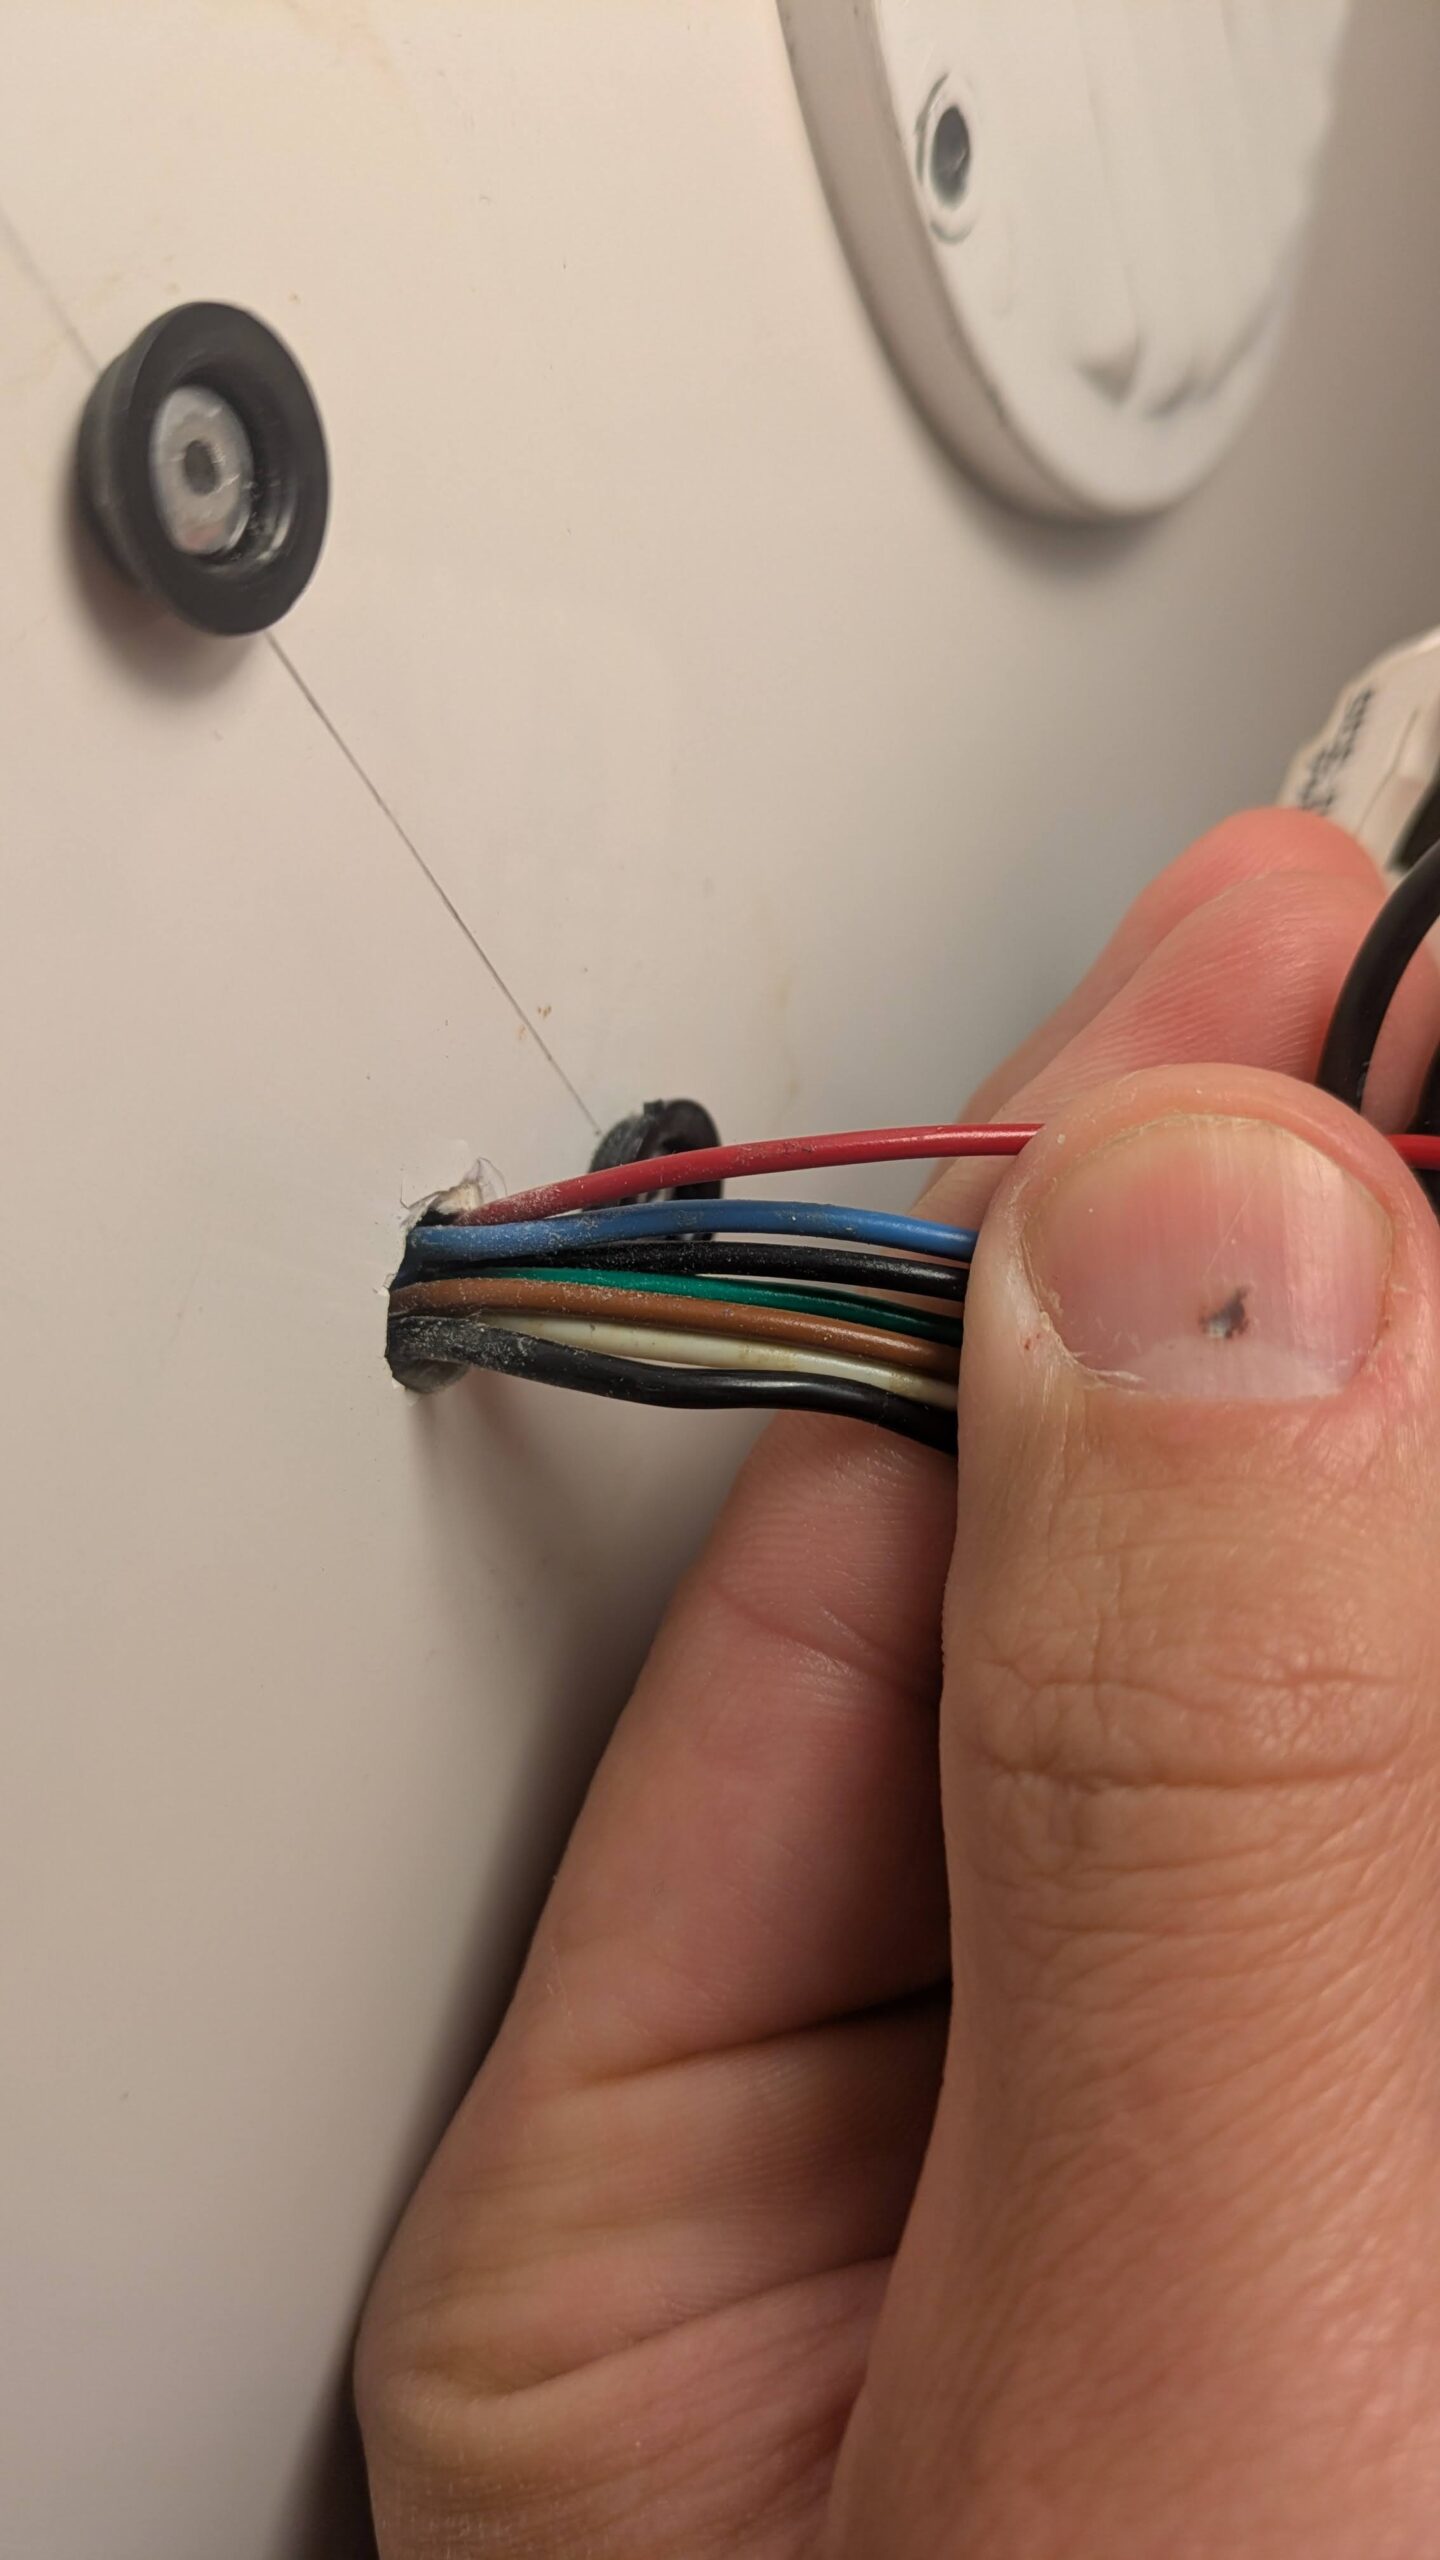
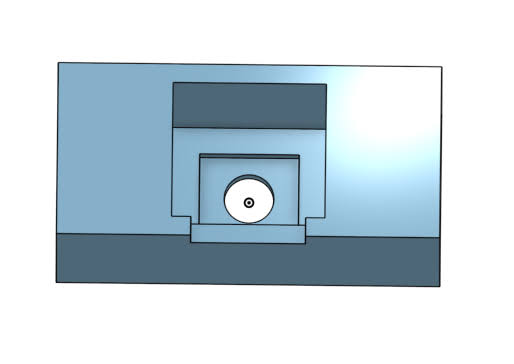
The factory wires come through a small hole in the fiberglass, and the thermostat fits flush against the wall, so I made a 3D-printed standoff to allow me to mount the thermostat indirectly.
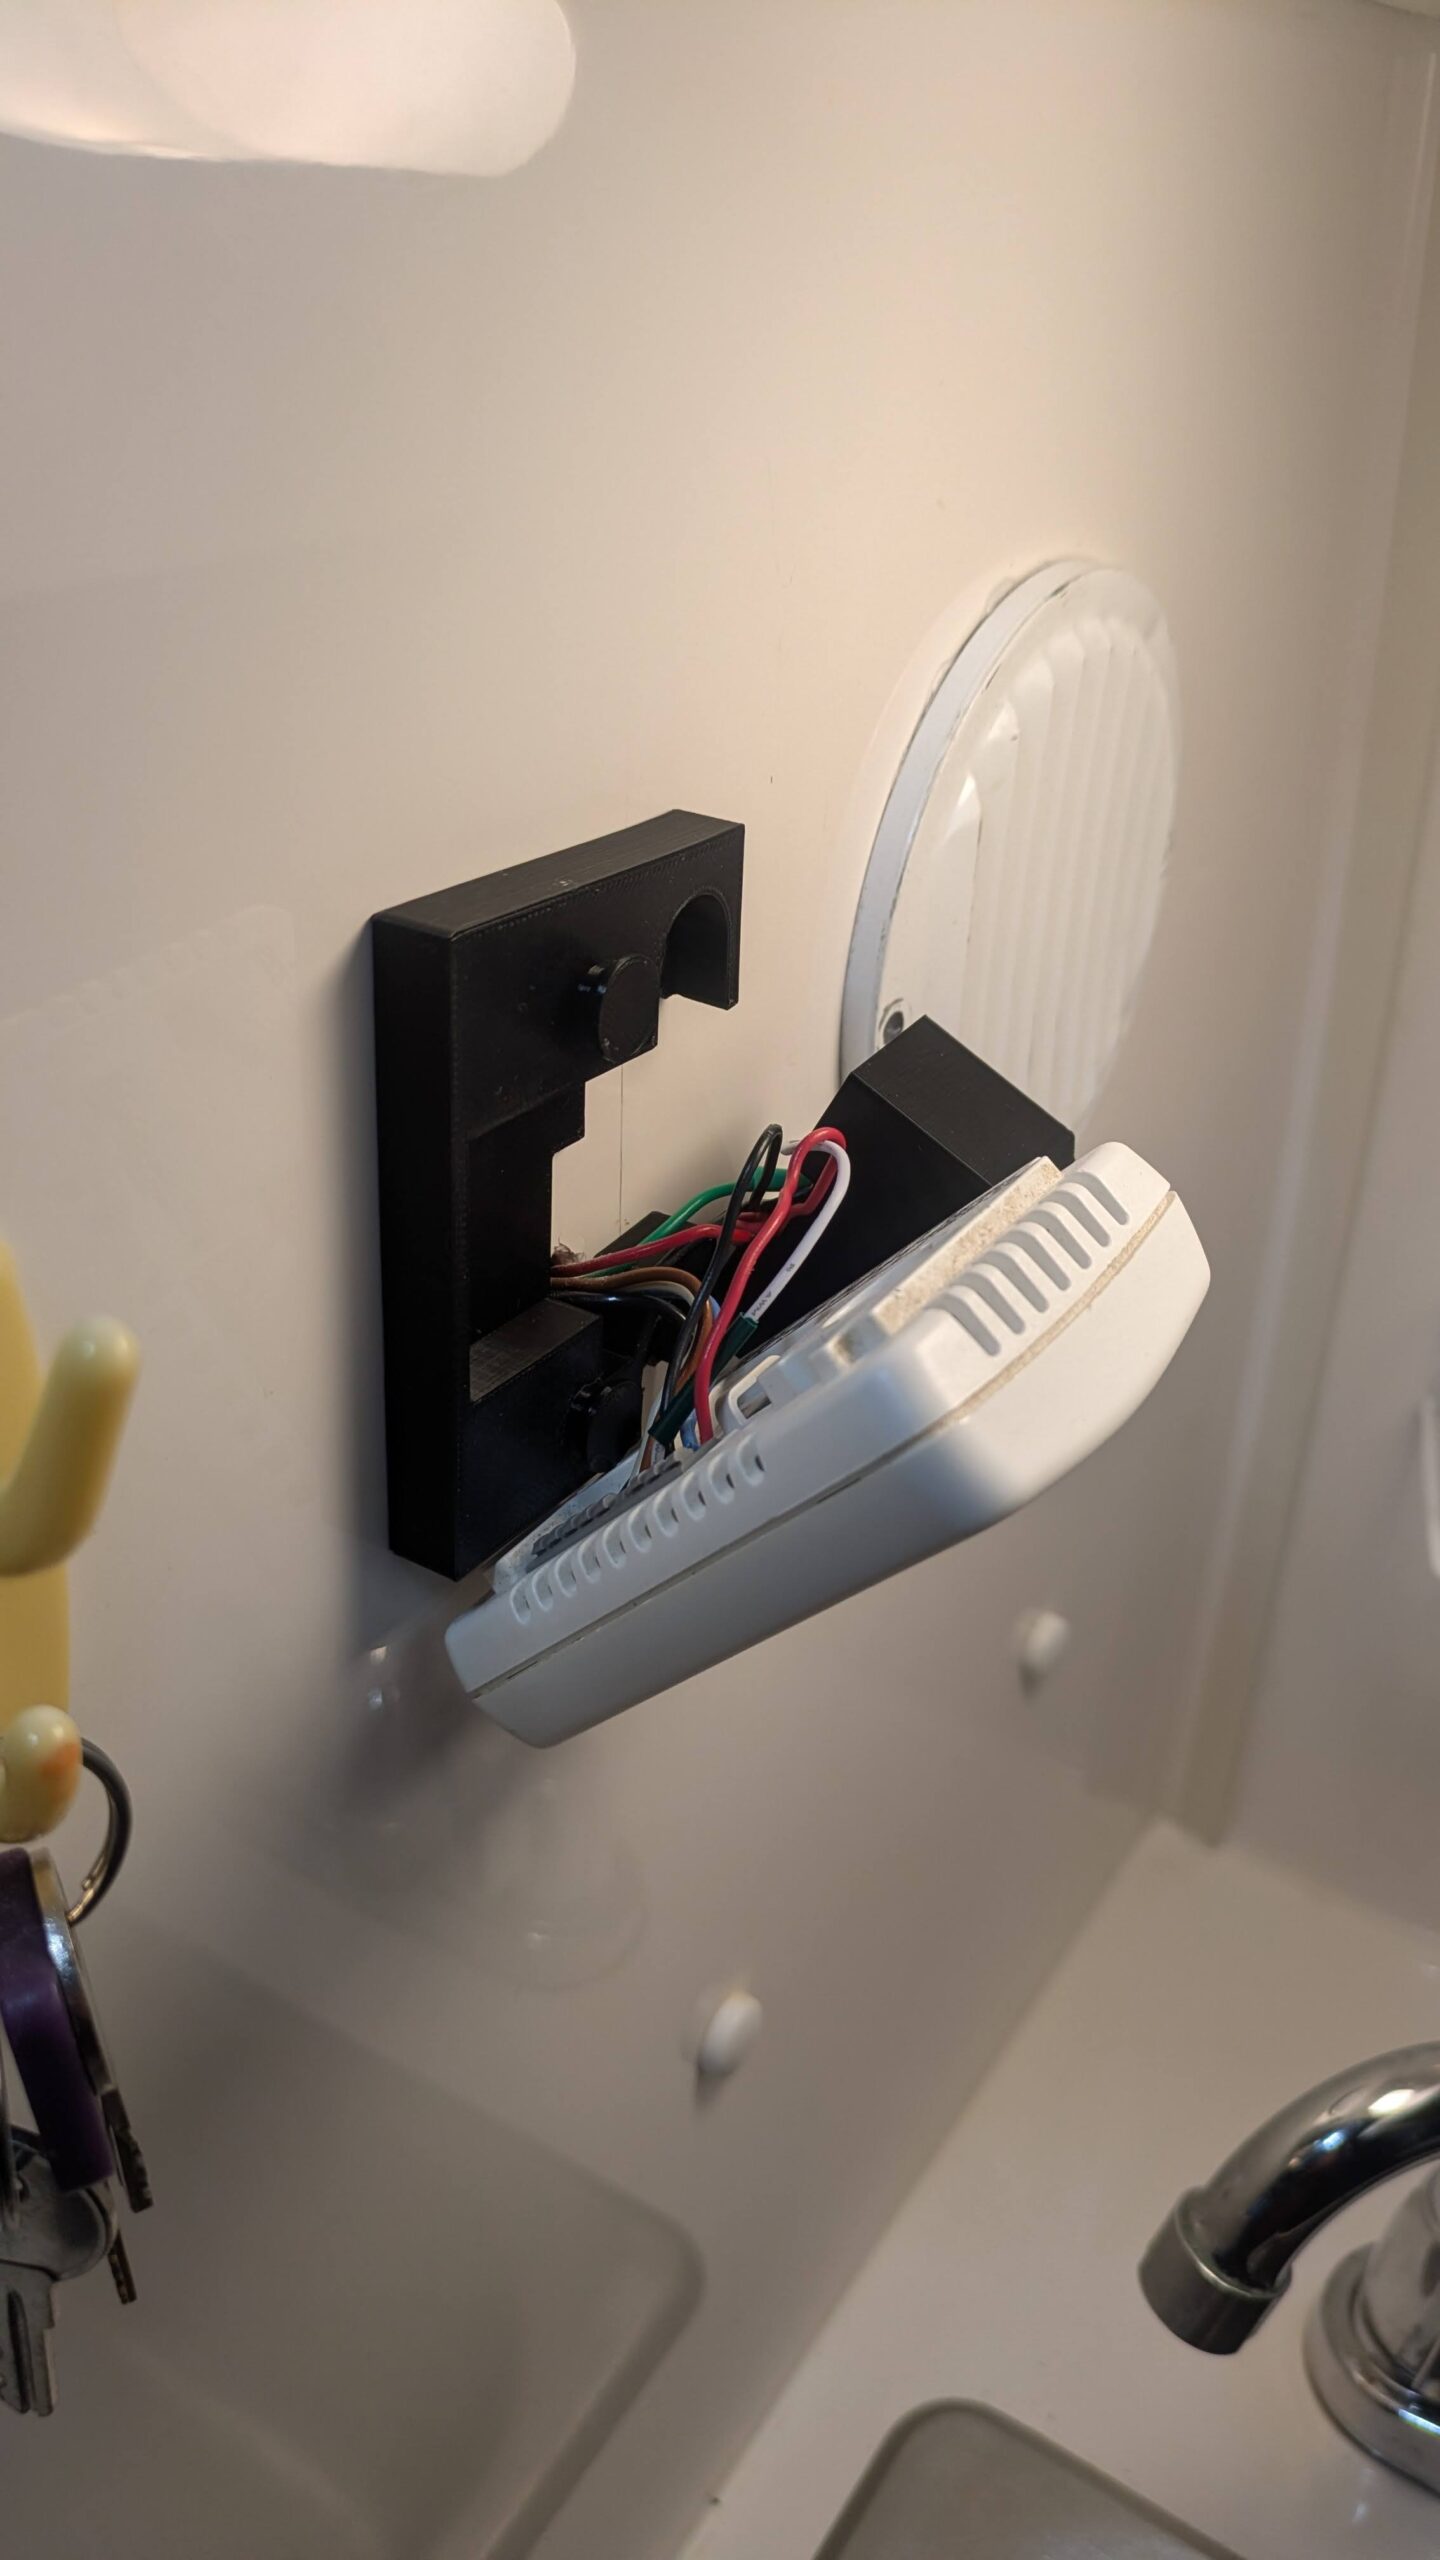
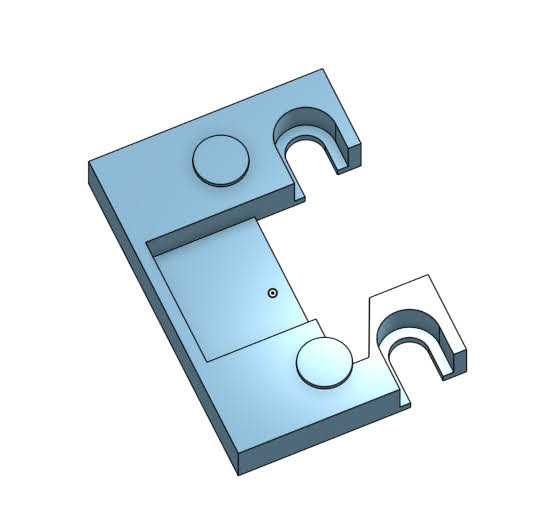
All the weird cutouts are to allow the wires to come through the wall and not interfere when sliding the mount onto the wall, and to provide a space for the wires to connect to the thermostat and the added switch. I used the existing tabs on the wall, and interfaced with the existing holes on the thermostat too.
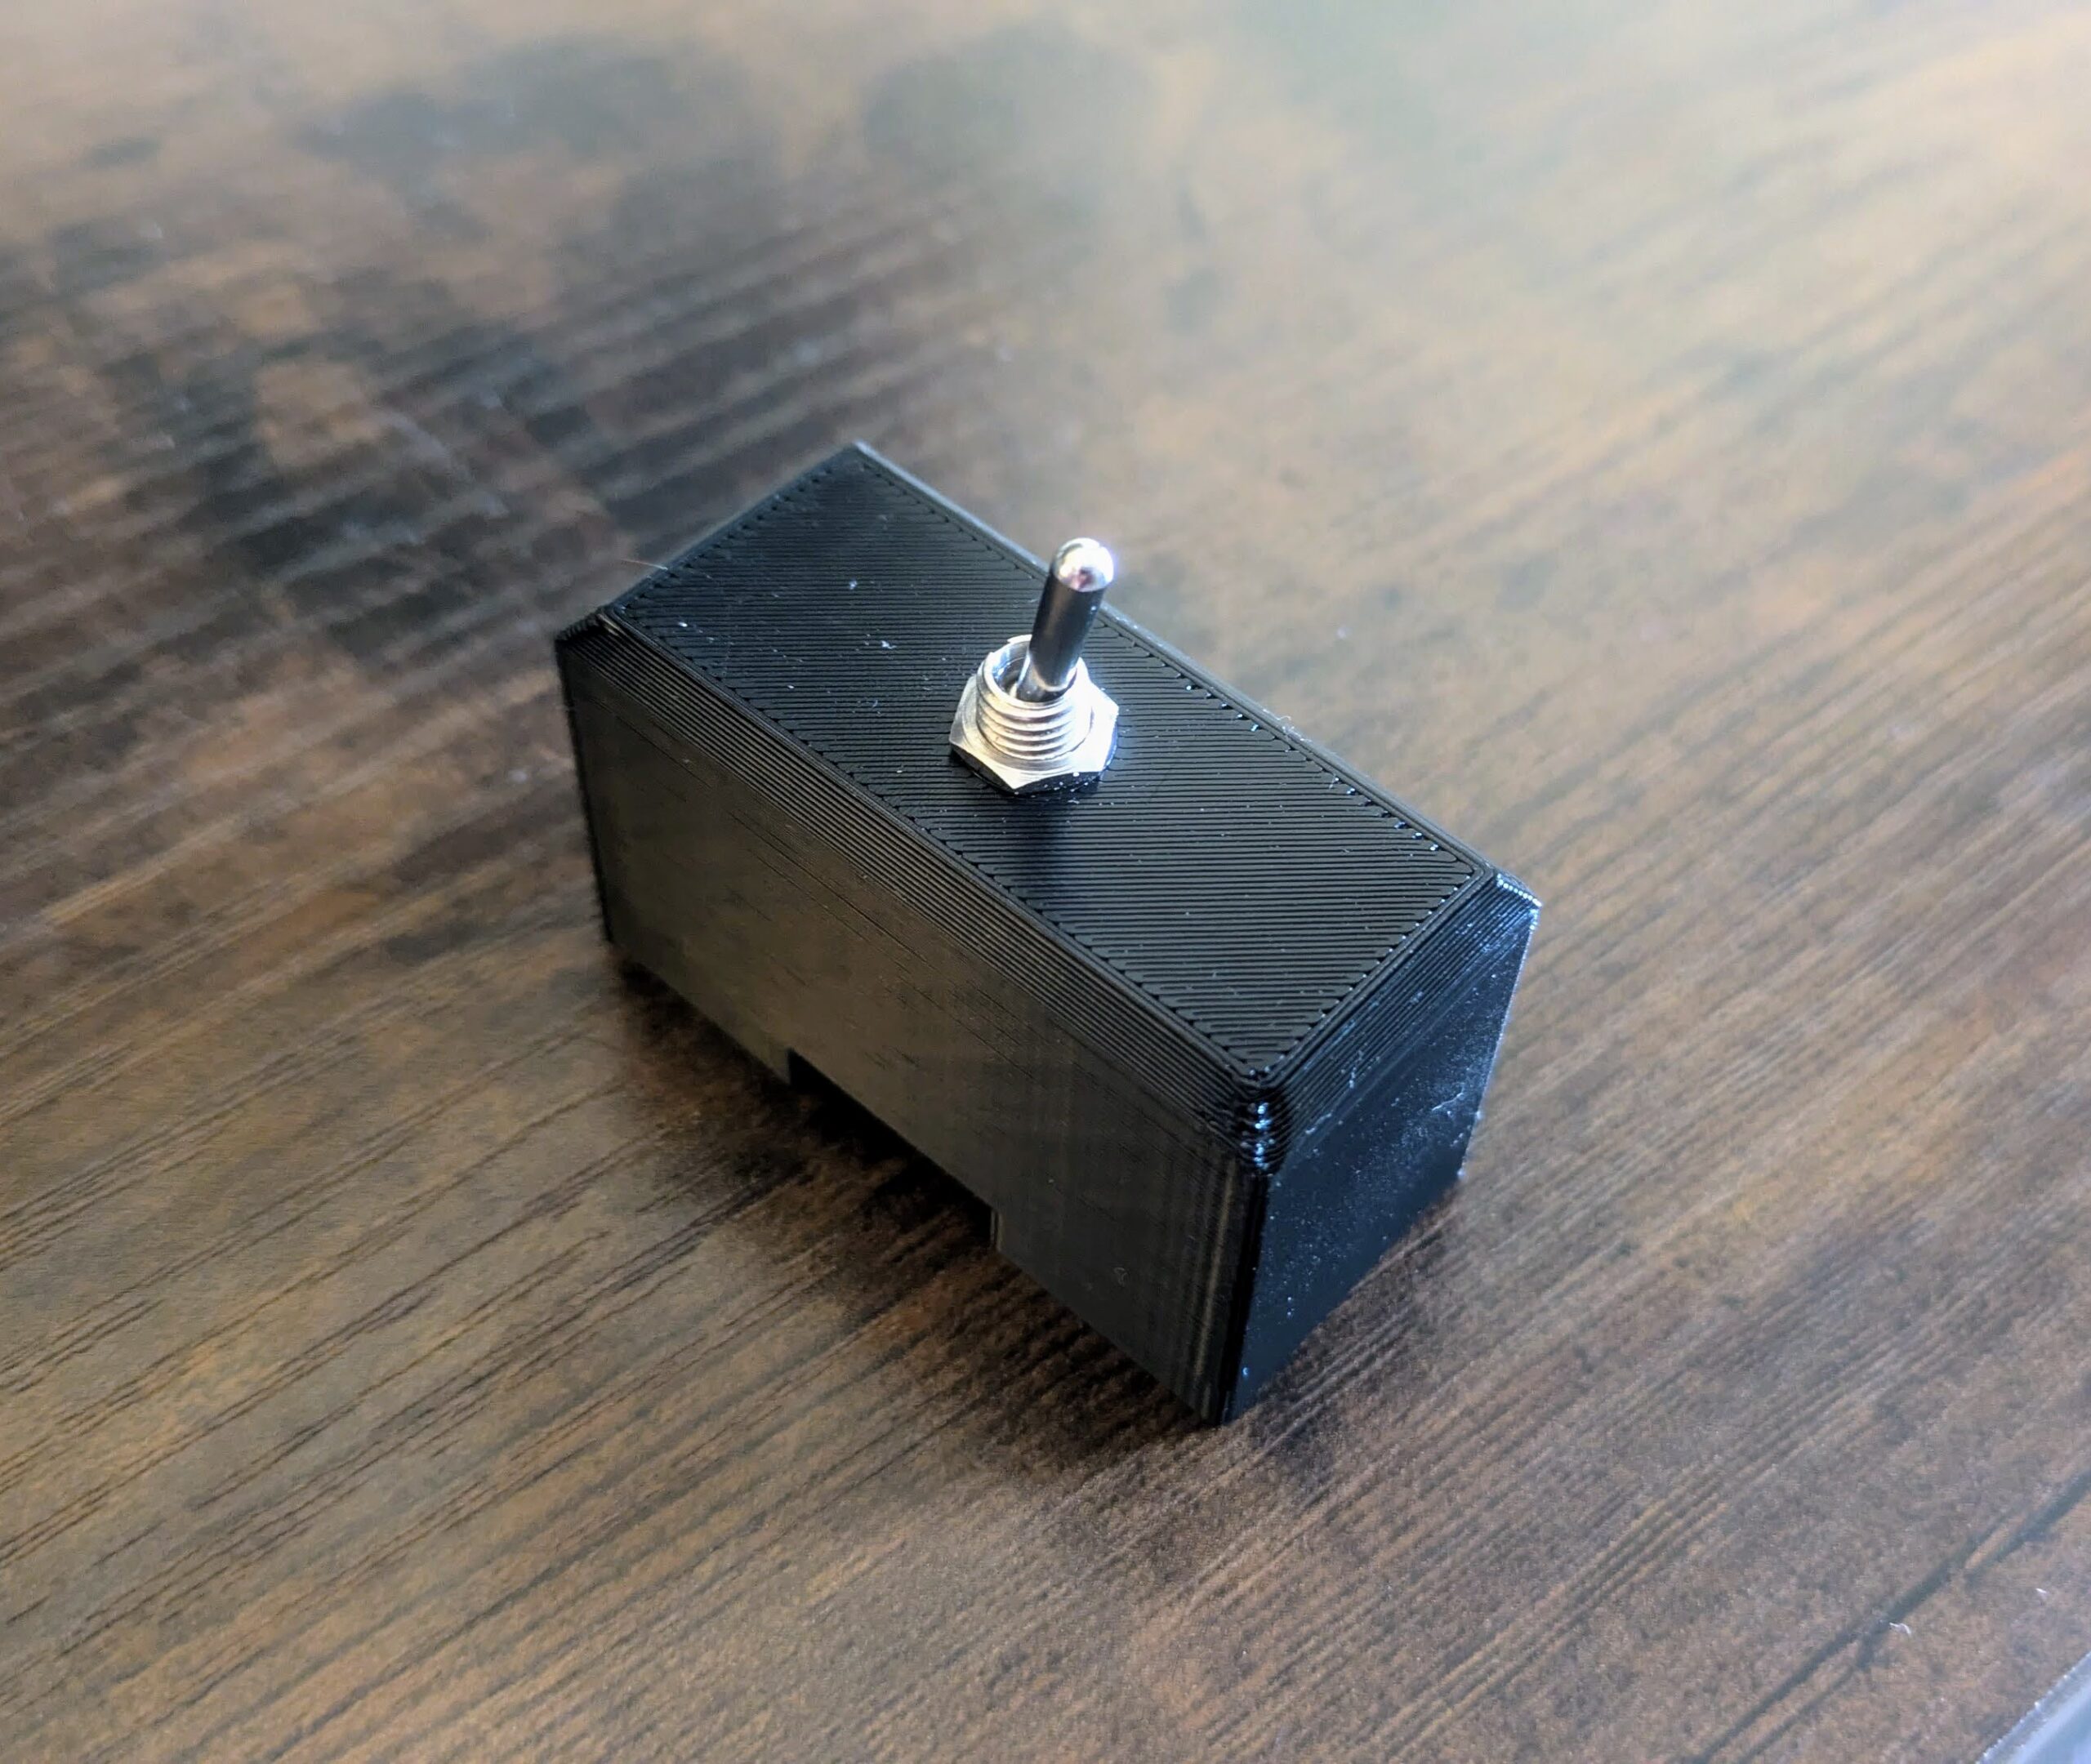
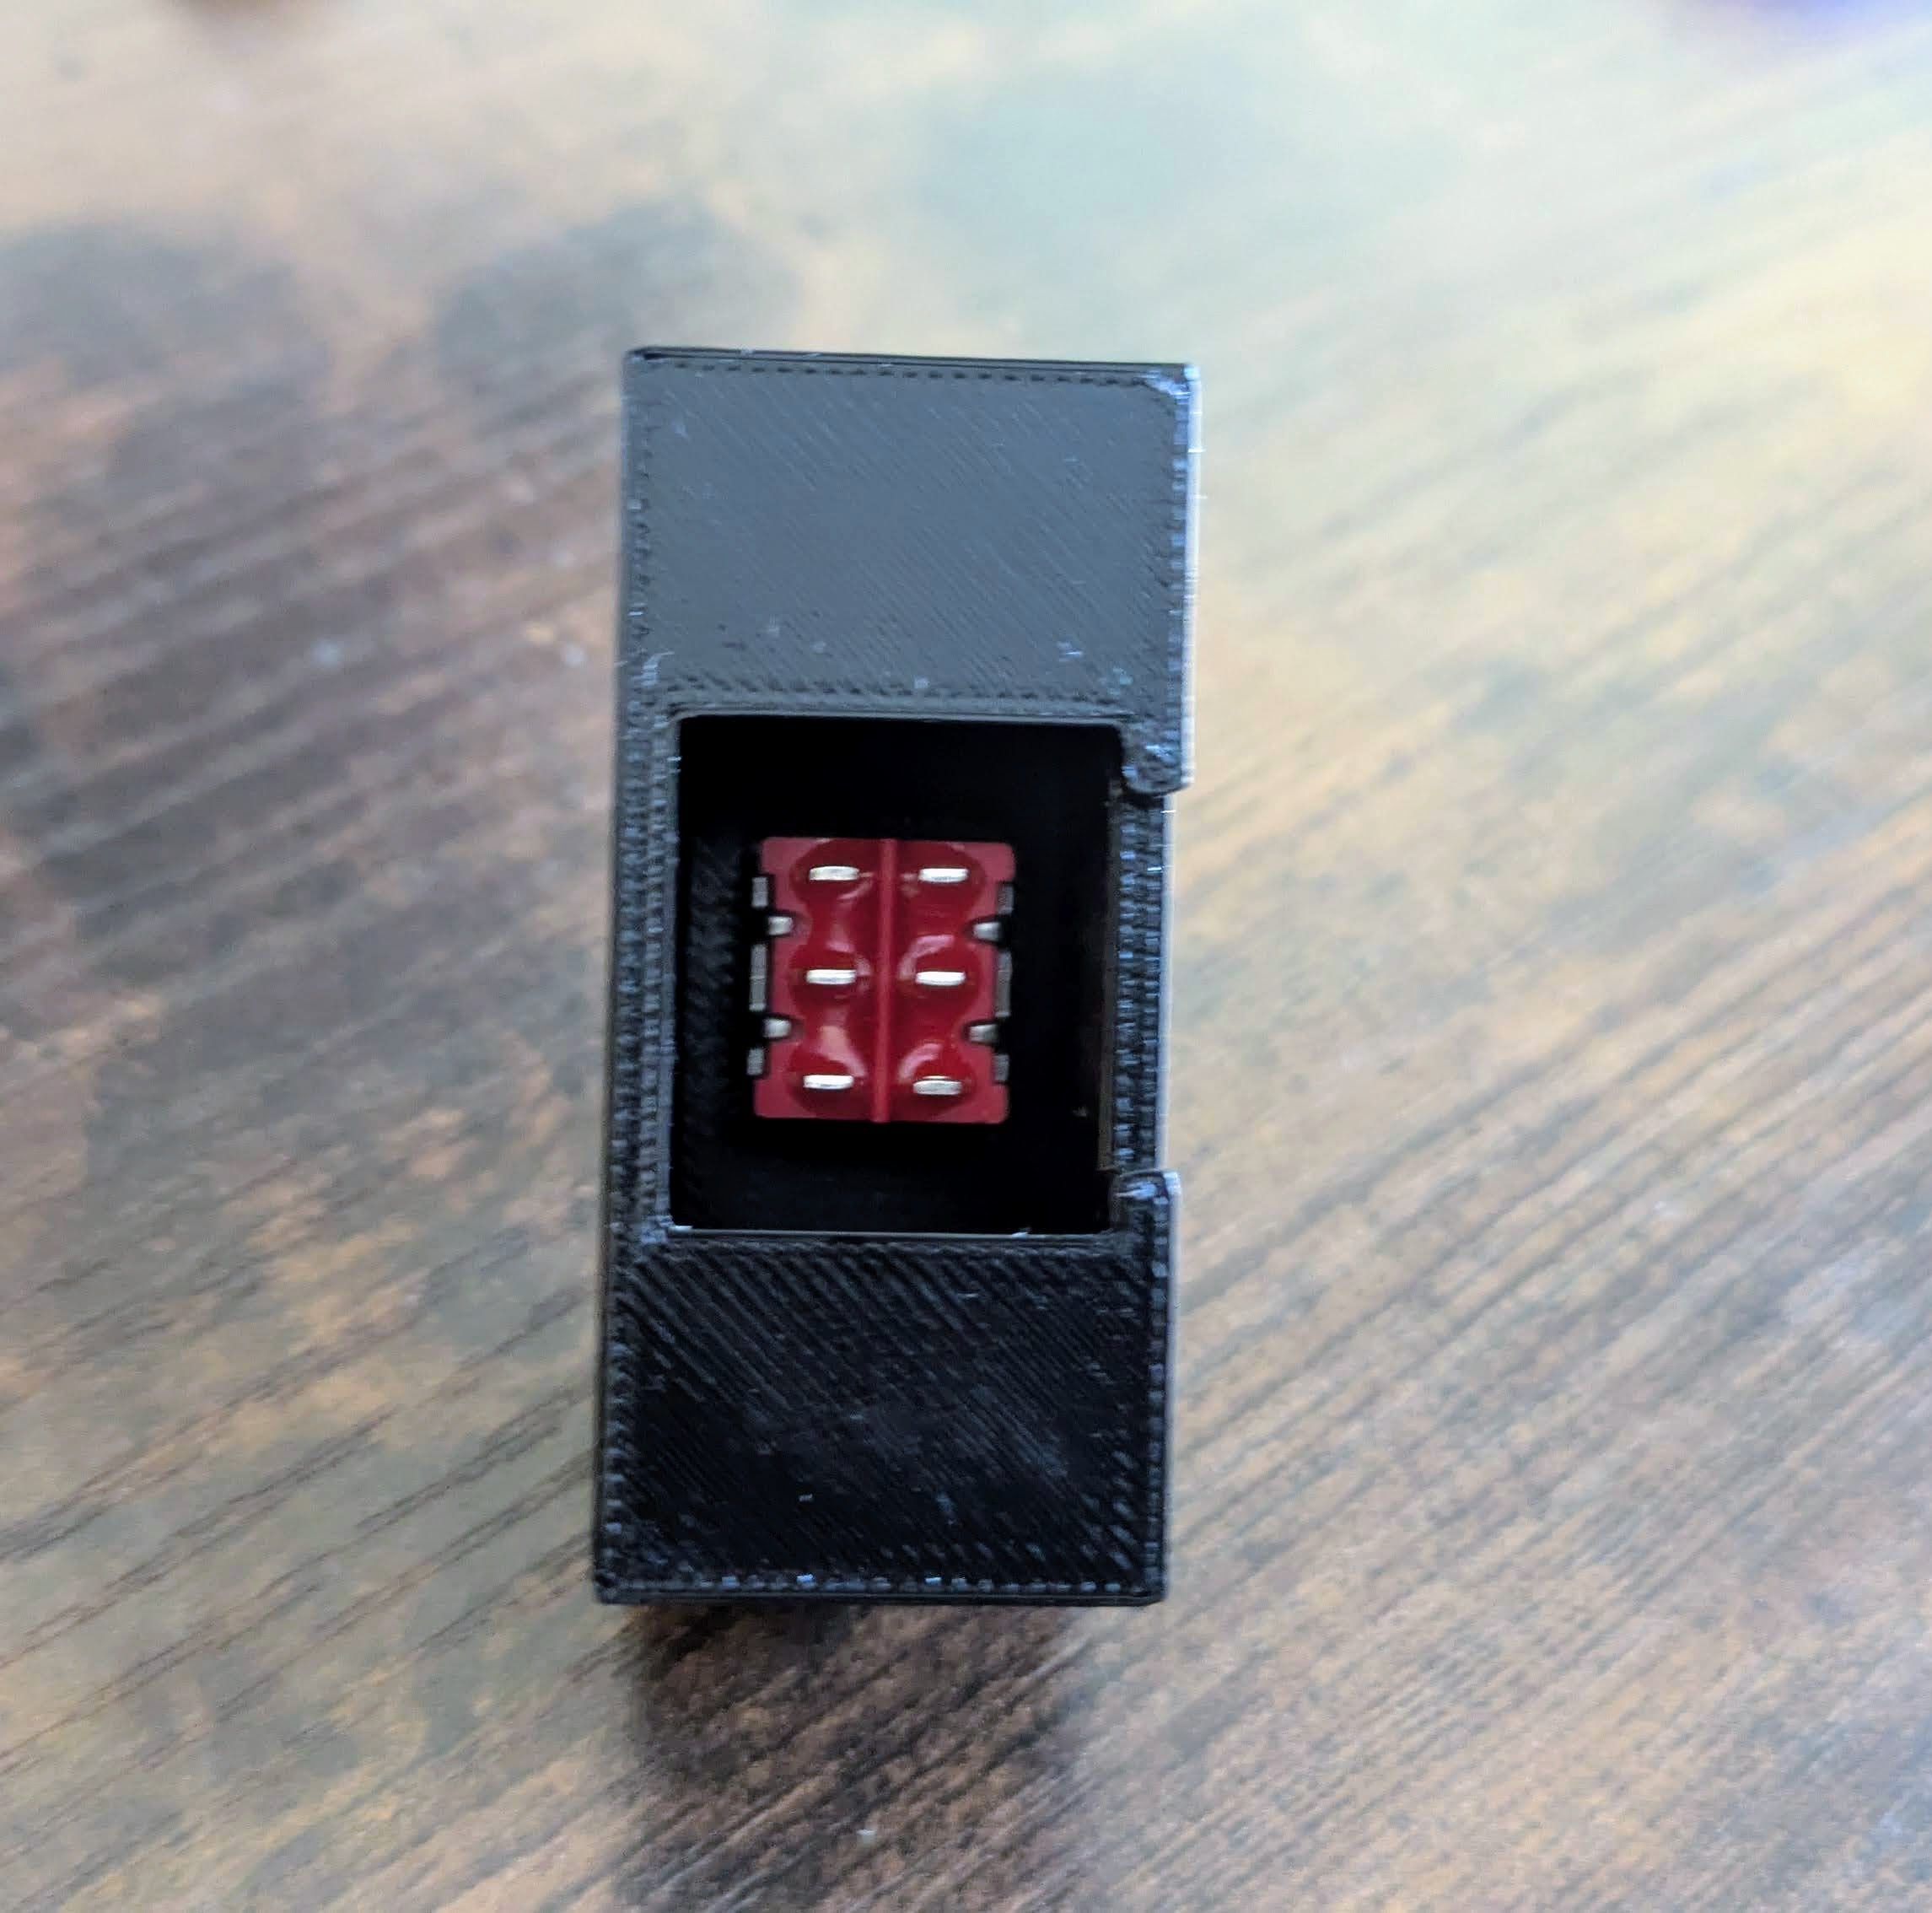
I mounted the toggle switch in a surface mount 3D-printed box. I stuck it to the wall with velcro in case I need to fix something.
Equipment
Here are the specs on what I have and what I used. It will probably work on some other setups, but this is my exact setup.
- 2020 Casita Spirit Deluxe
- Coleman-Mach 8 Plus Cub (47201B876)
- Coleman-Mach thermostat (9630-335)
- Ceiling assembly (9430-4552)
- DPDT toggle switch, without center off position – https://www.amazon.com/dp/B07QGBW6XZ
- Wire (probably somewhere from 18-22 AWG)
Related Projects
Modifying a popup camper RV bunk end 12V light to add a nightlight feature.

Repurposing an old tool case to make a soldering station portable
Testing capacity of commonly available (well, in 2007) AA Nickle Metal Hydride batteries.